Installation
Requirements
pyWitness is developed exclusively in Python 3. The installation methods detailed below automatically install the following required packages:
python > 3.7
ipython (interactive python)
matplotlib (plots)
numpy (numerical arrays)
scipy (fitting and functions)
pandas (data frames)
Note
Use a terminal for inputting commands. On MacOS the program is called terminal and on Windows it is called PowerShell. If you are using anaconda or miniconda on Windows you need to start the Anaconda Powershell prompt
Warning
Our tutorial assumes python is interactive python 3, with numpy and matplotlib, so the command ipython3 --pylab if you are familiar with python and have an installation replace ipython3 --pylab with your own command to start python.
Warning
If you plan on using R, you still need to follow the installation instructions below. then follow the R specific instructions on this page Using pyWitness from R.
Installing Python
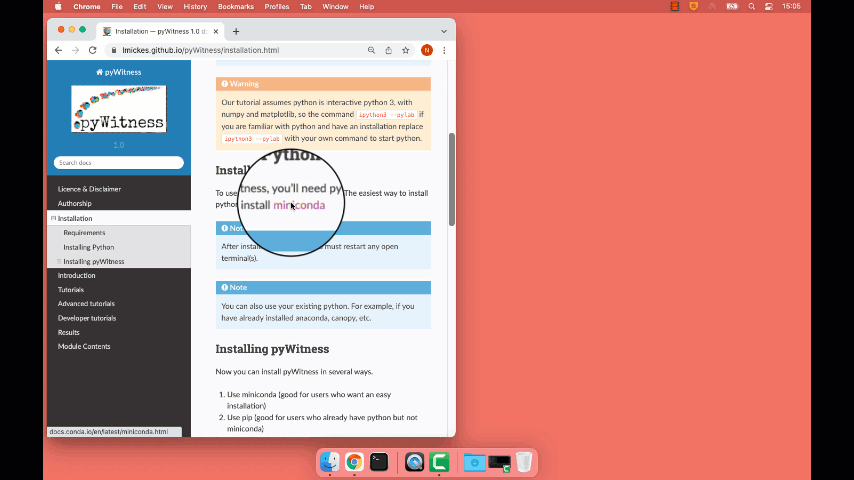
To use pyWitness, you’ll need python. The easiest way to install python is to install miniconda
Note
After installing miniconda, you must restart any open terminal(s).
Note
You can also use your existing python. For example, if you have already installed anaconda, canopy, etc.
Installing pyWitness
Now you can install pyWitness in several ways.
Use miniconda (good for users who want an easy installation)
Use pip (good for users who already have python but not miniconda)
Download the ZIP file (good for advanced users who want to see the code)
Clone the git repository (good for users who want to contribute)
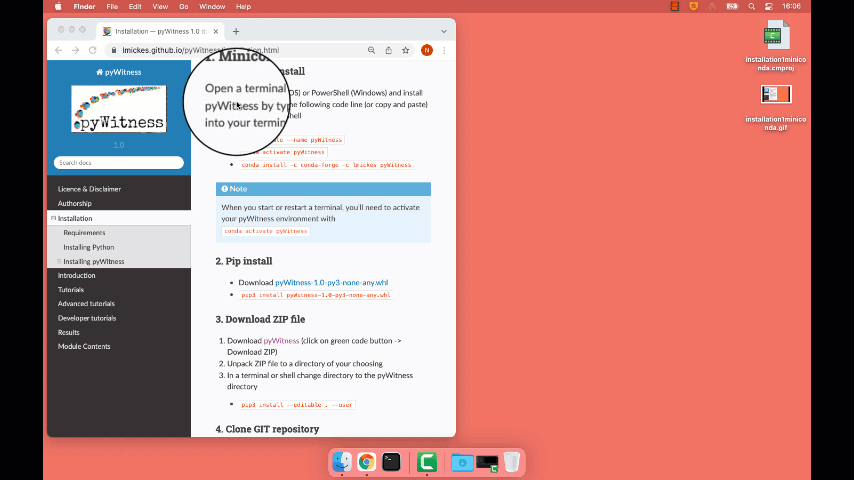
1. Miniconda install
Warning
In Windows you will have to open an Anaconda Powershell Prompt (from the Windows start menu)
Open a terminal (MacOS) or Anaconda PowerShell prompt (Windows) and install pyWitness by typing the following code line (or copy and paste) into your terminal or shell
conda create --name pyWitness
conda activate pyWitness
conda install -c conda-forge -c lmickes pyWitness
Note
When you start or restart a terminal, you’ll need to activate your pyWitness environment with conda activate pyWitness
2. Pip install
First download the package
Download pyWitness-1.1-py3-none-any.whl
Warning
In Windows you will have to open an Anaconda Powershell prompt (from the Windows start menu) before running pip
Then in your terminal (MacOS) or Anaconda Powershell prompt (Windows)
pip3 install pyWitness-1.0-py3-none-any.whl
3. Download ZIP file
Download pyWitness (click on green code button -> Download ZIP)
Unpack ZIP file to a directory of your choosing
In a terminal or shell change directory to the pyWitness directory
pip3 install --editable . --user
4. Clone GIT repository
Open a terminal (linux in bash) and move to a suitable work directory
git clone https://github.com/lmickes/pyWitness.git
cd pyWitness
pip3 install --editable . --user
To update pyWitness you will have to pull
cd pyWitness
git pull
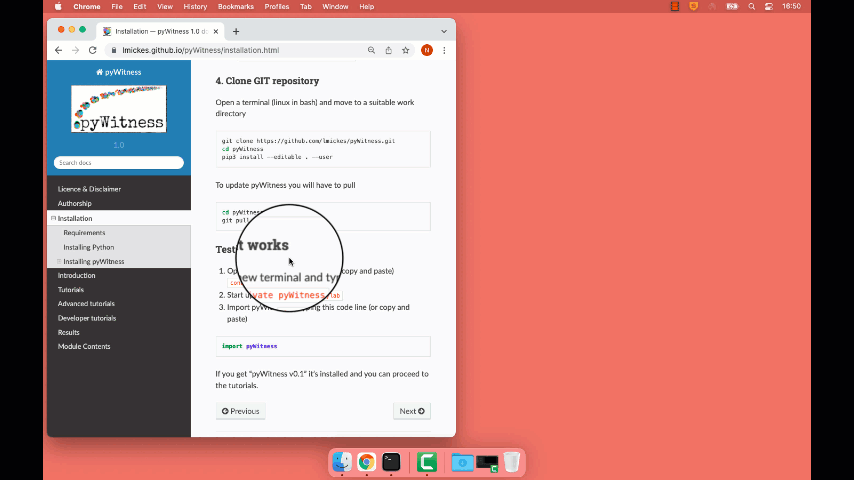
Testing it works
Open a new terminal and type (or copy and paste)
conda activate pyWitnessStart up python
ipython3 --pylabImport pyWitness by typing this code line (or copy and paste)
import pyWitness
If you get “pyWitness v0.1” it’s installed and you can proceed to the tutorials.
Trying it out without installing anything!
Binder can be used to try out the code without installing anything on your computer.
Click the following link (launch binder)
Then it should open a browser with a notebook interface
Note
Be patient, binder could take time to start up (seriously, a long time, maybe a cup of tea or coffee), don’t click back, don’t get impatient. It is building a virutal computer for you in docker and using jupyter-hub.